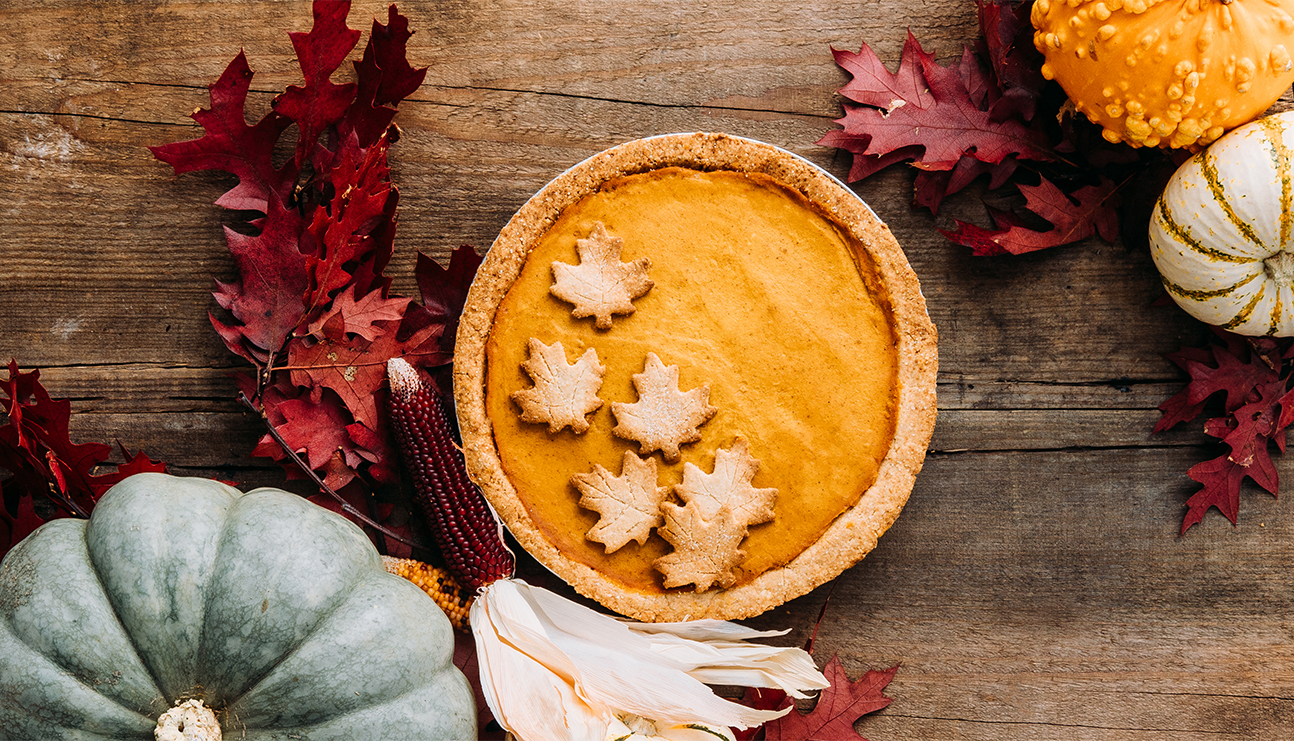
Vegan, Gluten-Free Thanksgiving Pumpkin Pie
Denise Vasi
Thanksgiving isn’t complete without pumpkin pie. While there’s no shortage of pumpkin pie recipes out there, the number of vegan, gluten-free, great-tasting pumpkin pie recipes are very limited. Similar to most vegan, gluten-free desserts getting the flavor profile and texture right can be challenging.
Instead of trying to crack the puzzle myself, I turned to my trusted and super talented friend Yvonne, of Yvonne’s Vegan Kitchen, a vegan, gluten-free bakery. Yvonne can make all kinds of vegan, gluten-free magic happen so I knew she probably had a delicious pumpkin pie recipe in her arsenal—and she did not disappoint! In fact, I bet everyone at your dinner table would be surprised to discover it’s vegan and gluten-free. Tell them after they devour it!
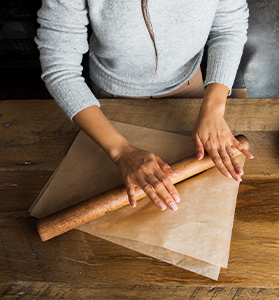
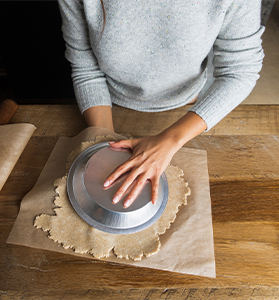
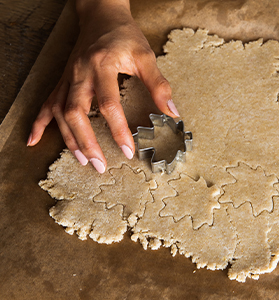
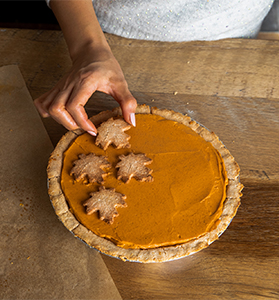
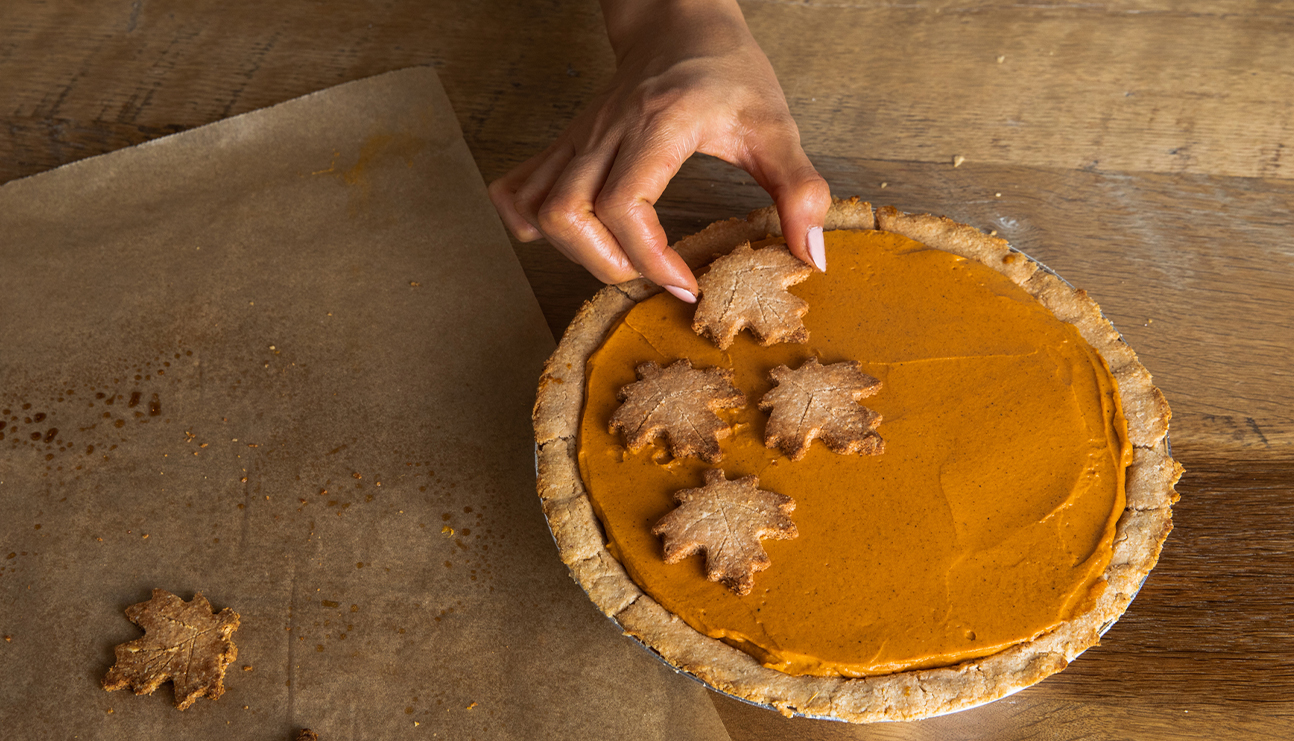
P.S. How adorable are the little pie crust leaves? They’re also a fun way to get your littles involved in making this recipe.
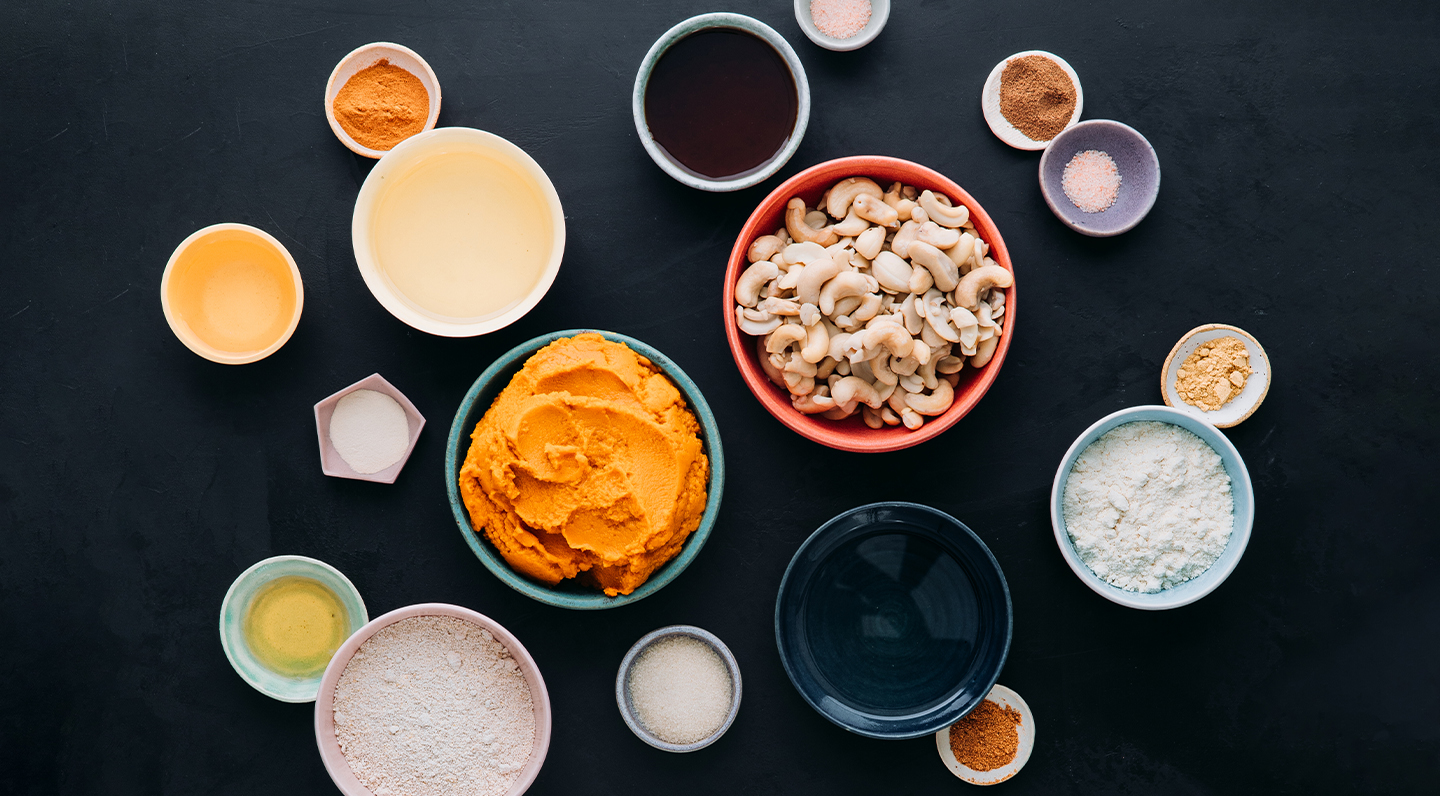
Ingredients
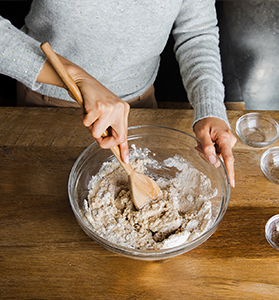
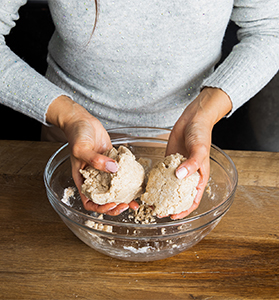
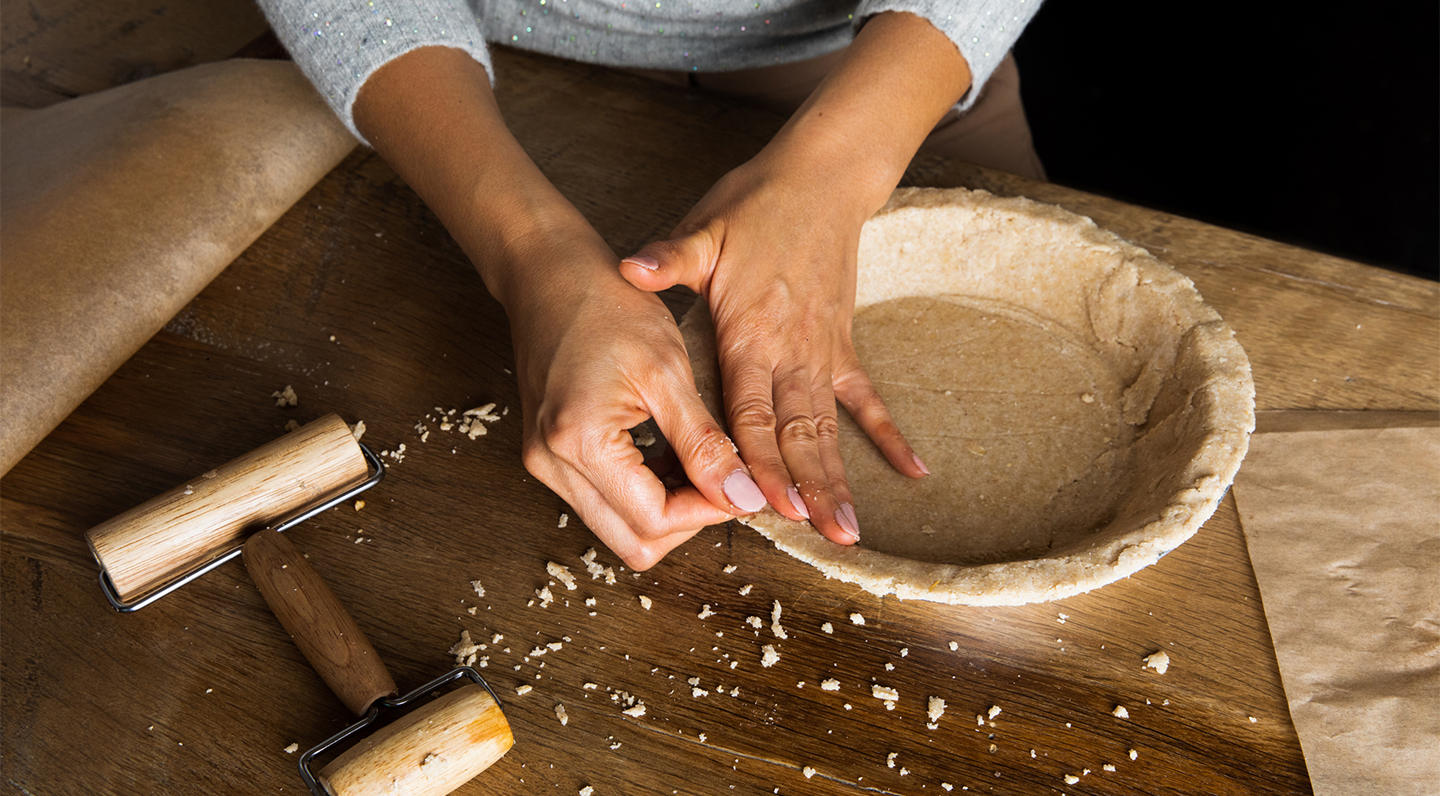
- Crust:
- ½ cup cold, filtered water
- 1 ½ cup gluten-free oat flour
- ½ cup coconut flour
- ½ tsp xanthan gum (optional) *
- ½ tsp Himalayan sea salt
- 2 tbsp coconut sugar (or cane sugar)
- ⅔ cup melted raw coconut oil
- 2 tbsp apple cider vinegar
- *I don't always use xanthan gum, and for some, it’s hard to find. If you use it, your crust will not be as crumbly. Xanthan gum is used to bind the flour together better.
- Filling:
- 1½ cup raw cashews, soaked in filtered water overnight
- 2 cup pumpkin puree*
- ⅓ cup coconut oil
- ⅓ cup maple syrup
- 3 tbsp coconut palm nectar (or maple syrup)
- 1¾ tsp ground cinnamon
- ½ tsp Himalayan sea salt
- ¾ tsp ground ginger
- ¾ tsp ground allspice
- ½ tsp ground nutmeg
- *15 oz. of canned pumpkin puree will work but I bake a fresh pumpkin in the oven at 350 degrees F for 1½ hours.


- Place pie in the freezer to set at least 3-4 hours, but overnight is best.
- If the pie is completely frozen, remove it from the freezer and place it on your kitchen counter. Let it sit for about 25 minutes. Using a large, sharp knife, cut slices. If you’re not going to serve it right away, store it in the refrigerator. Remove the pie from the refrigerator for about 30 minutes before serving so it can fully defrost.
- If it defrosts too much, just place it back in the refrigerator to let it set a bit.
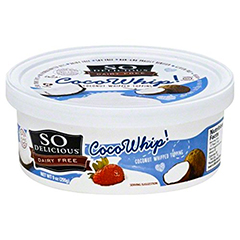
- Carefully plate the pieces of pie and top with vegan whipped cream. (I like using So Delicious Whip!

*Yvonne Ardestani is the chef behind Yvonne’s Vegan Kitchen. Yvonne also operates a catering business where she creates the most beautiful vegan and gluten-free cakes for every occasion.