What Is Gua Sha?
Denise Vasi
What was once an intense massage technique used on the body in ancient Chinese medicine is now a highly sought-after delicate and meditative facial treatment amongst skin care obsessed women.
Also referenced as coining, spooning or scraping, gua sha (pronounced “gwa sha”) facials are much gentler than the traditional deep scraping technique that was used to treat things like a fever or cold.
In fact, gua sha facials and at-home gua sha tools have become so increasingly popular in the last three years that there are skincare studios, Instagram profiles, and YouTube videos solely dedicated to the practice.


WHAT IS GUA SHA?
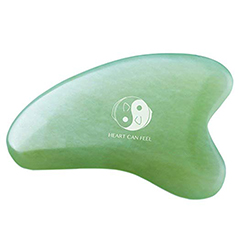
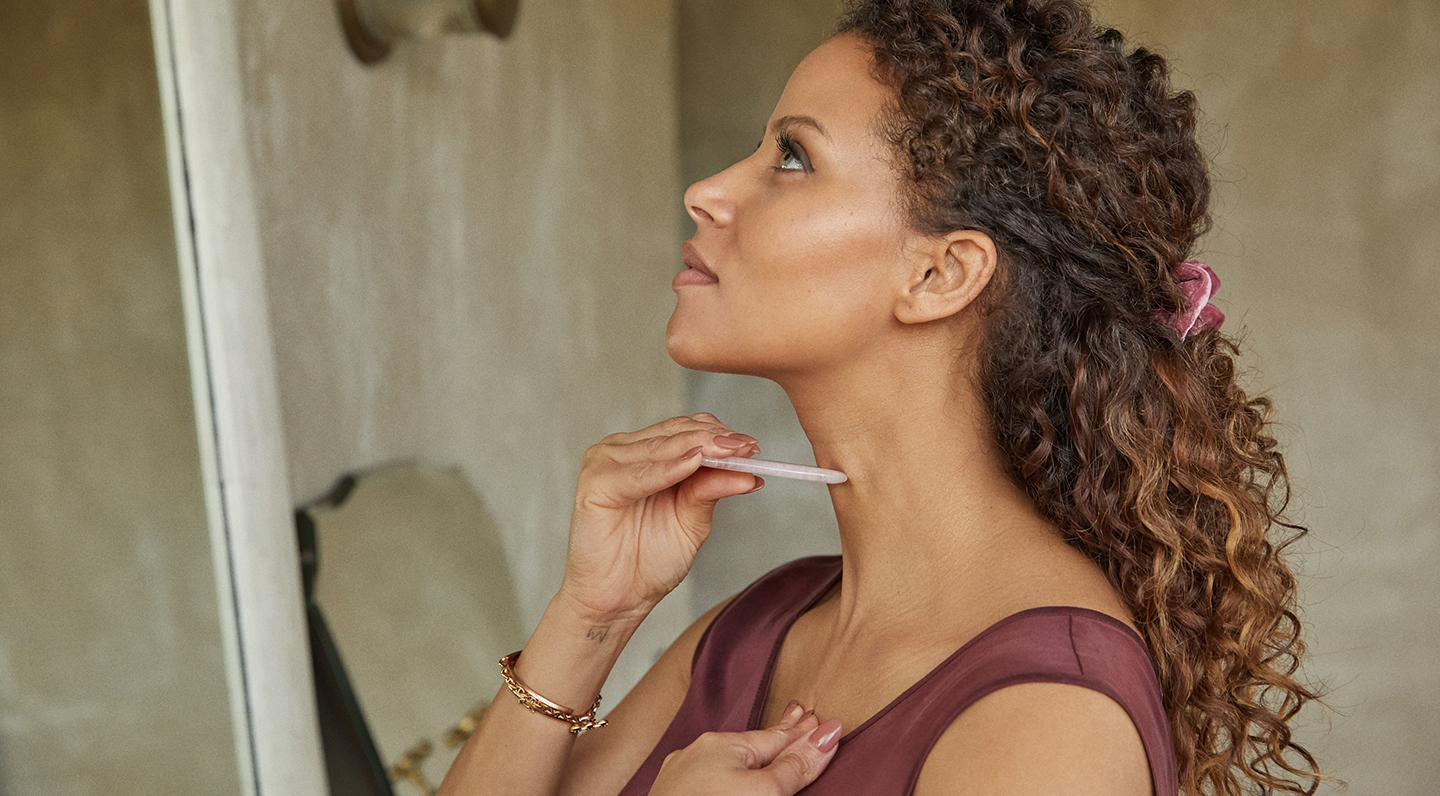
The purpose of gua sha is to sculpt the face while moving stagnant energy. Treatment involves using a tool, usually made of rose quartz or jade stone, to massage the face and neck with both short and long strokes gently. These nonabrasive light pressured movements increase the circulatory flow of blood and stimulate lymphatic drainage of the face.
What Are The Benefits Of Gua Sha?
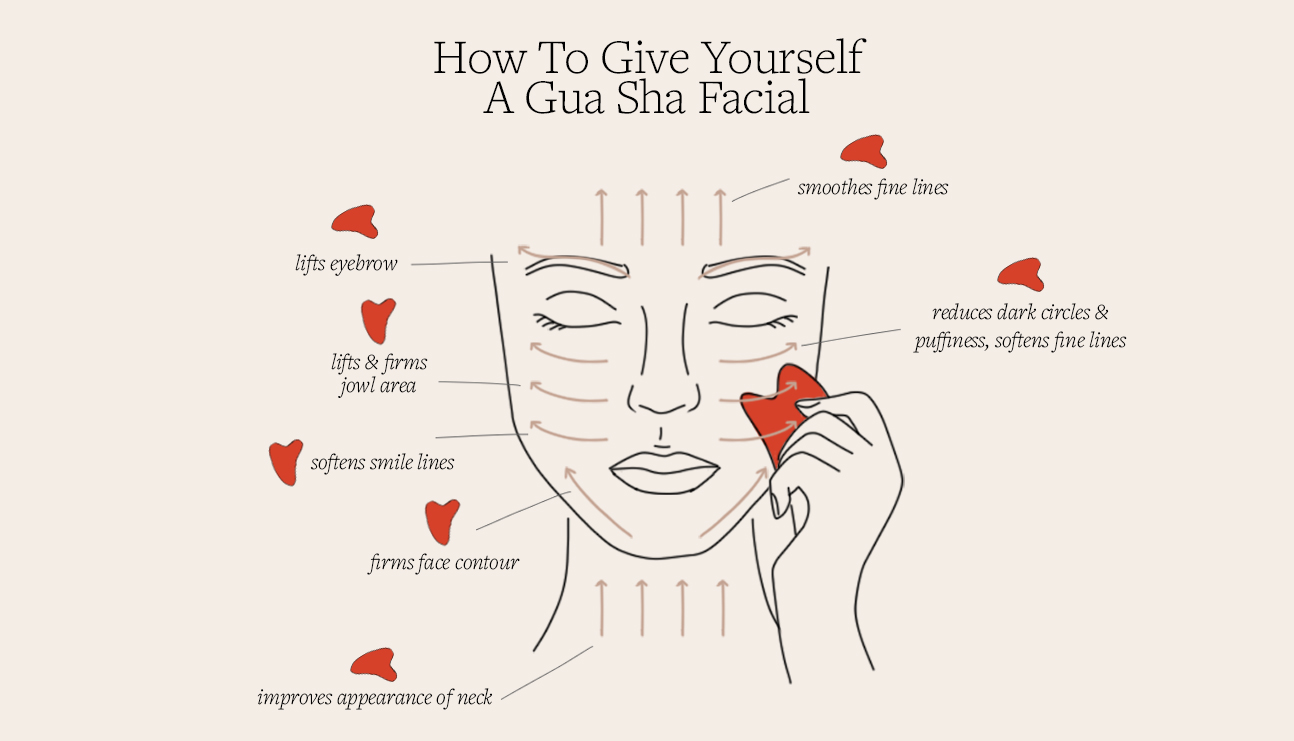
Immediate benefits include reduced inflammation to the whole face, decreased puffiness around the eyes and the release of tight muscle tension.
Over a few weeks, after consistent, dedicated use you’ll notice how the gentle, upward strokes relax, tone and lift the muscles of the face — contouring and sculpting a more defined jawline and cheekbones as well as softening fine wrinkles. Facial gua sha improves blood circulation, lymphatic drainage, and promotes vibrancy and elasticity in the skin.
While I am still a devoted jade rolling gal, I taught myself the gua sha technique and have been using it regularly for a year now. Maintaining a regular gua sha practice has helped keep my face from swelling so much during pregnancy. My face was definitely chubbier and rounder with my first pregnancy, especially in my last trimester. This last time around though, I felt less full-faced and could still see my cheekbones and jawline.

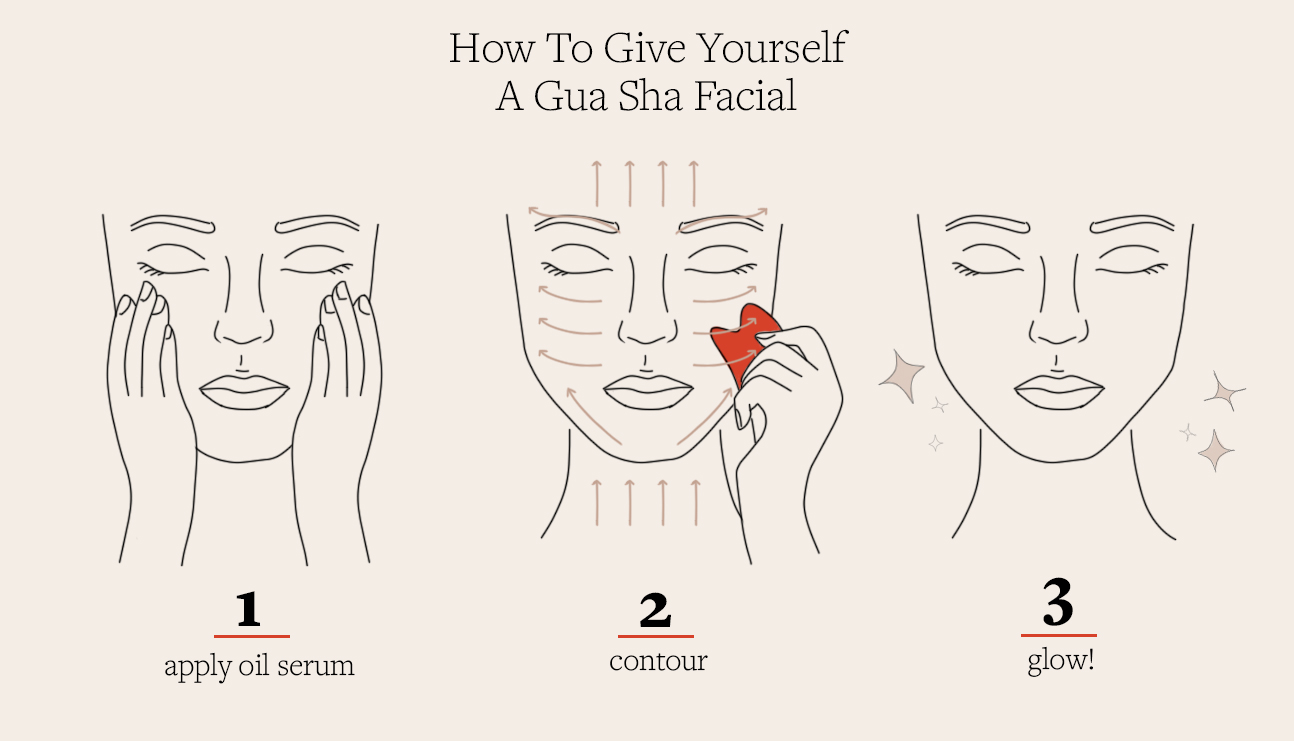
What Do You Need For A DIY Gua Sha Facial
You’ll only need two items to get your gua sha on…
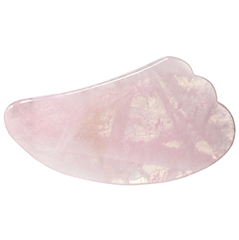
- a gua sha (I use this rose quartz one by Herbivore Botanicals)
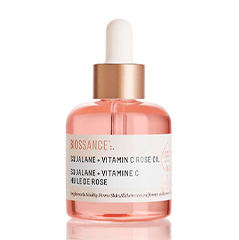
- a face oil or serum (I use my favorite oil from Biossance)

Start with one side of your face. Repeat at least 5 strokes for all areas. When it comes to the forehead and neck, you can stroke those areas twice as many times.
- Neck strokes: Start where your neck meets the middle of the right collarbone and use light to medium pressure to move the tool up along the neck until you hit bone. Right behind the ear.
- Under the chin: Gently glide the tool up the throat towards your face, along the the soft area under your chin.
- Chin: Gently press and hug the middle of the chin and guide the gua sha out along the jaw bone until you meet the earlobe.
- Cheek: Sweep the tool from the corner of the nose out to the middle of the ear.
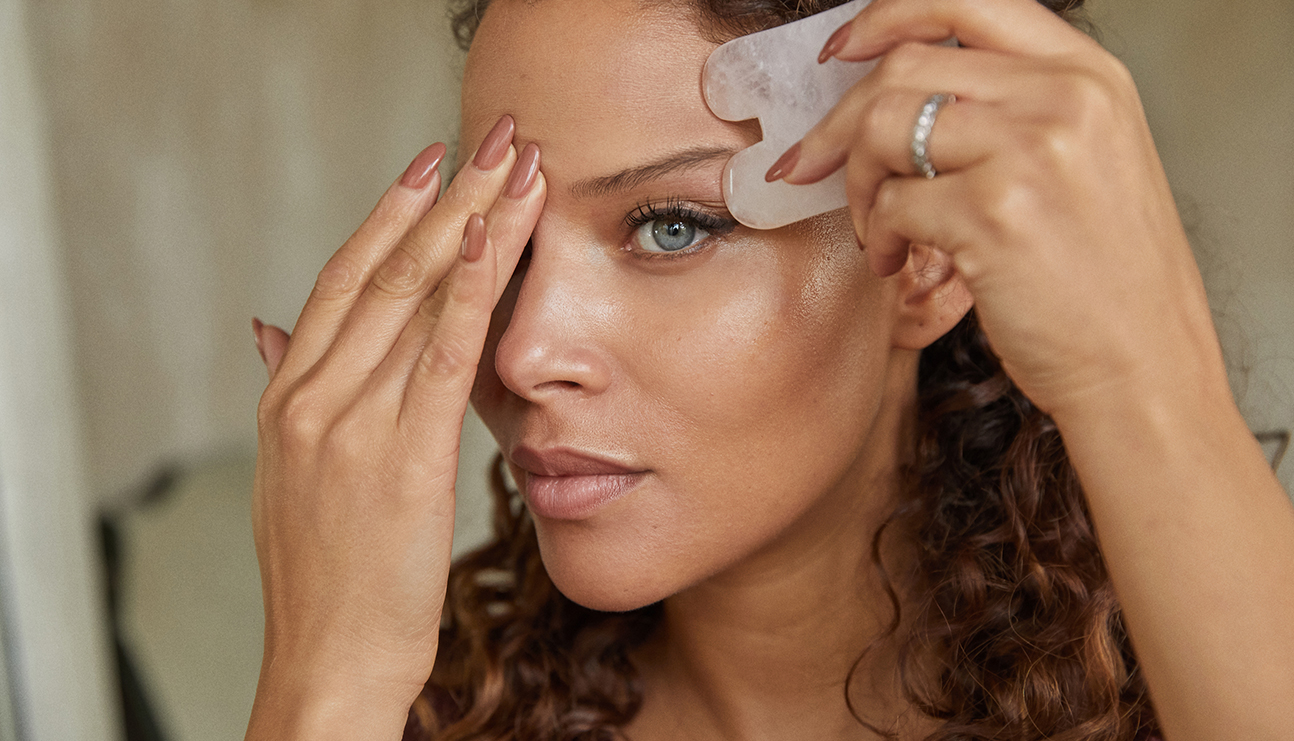
- Under-eyes: Be extremely delicate here. Move purposeful and slow. Guide the stone tool over the under-eye area out towards the hairline.
- Under eyebrow: Avoid pressure to the actual eye or eyelid. Focus on the brow bone instead. Start from inner brow bone and sweep the tool over, out and down toward the temple.
- Third eye: Comb the center of the eyebrows up towards the hairline.
- Lower forehead: Press the tool into the center of the forehead above the brow bone and with a long stroke, move out toward the temple.
- The big sweep: Sweep the tool from the center of your forehead, under your hairline, down and over your temple to your ear and then down the side of the neck to the terminus area. You can perform this “big sweep” movement several times.
Now repeat all of these steps to the other side of your face.
Beyond beauty benefits gua sha facials are incredibly helpful at relieving headaches, migraines and TMJ.